Sunday, February 13, 2011

Airconditioning Conduit Condensation


Woke up in the morning to find the A/C trunking had some serious condensation dripping off the bottom. Didn’t take a picture as I immediately wiped it off LOL.

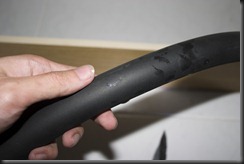
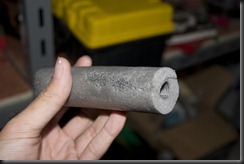
Pried off the cover (had to use quite a fair bit of force) and the problem became apparent. A section of the insulation had collapsed (probably due to compression from squeezing it inside the trunking), and water was forming due to the temperature difference. Here where humidity is high, it doesn’t take a too big temp diff to make water form. I think a 10ish deg C diff will result in problems. Anyways here’s a section of the tubular insulation I removed.

AC1

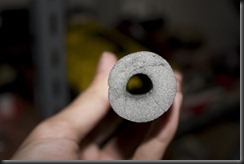
And a cross section view, you can see the left side is noticeably thinner. I’d have gone with super thick insulation if I could, but then will end up with a shoe-box sized trunking LOL. Aesthetics vs function..mmmm.

AC2

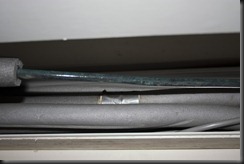
Here you can see some moisture already re-condensing on the cold copper tube. The green stuff is likely some corrosion due to the increased moisture content. Wiped that crap off and then bought out a spare section of insulation.

AC3

Here it is, some spare, I had to slit it to get it to go in without disconnecting the tubes. Hopefully the RTV I’m applying later will make it close properly. This stuff is probably better then the stuff that’s fitted in. Popular brand names include Armaflex and Insulflex. Don’t buy into that “Grade wadever” crap that installers will try and baffle you with, the grade of the material has nothing to do with how well it insulated, it’s gotta do with how lamely it (retards) burns. Unless you’re running it over your stove I don’t think it’d really matter. (Unless your country/place has strict laws in place that require you to meet.)

AC4

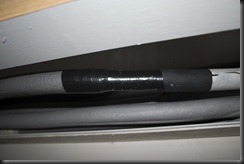
And here the splice is made, plenty of tape to keep moisture laden air out of the system.

AC5

Next was to close up the trunking and then test it out. It’s been a week, and I’m glad that the fix seems to be holding out. Sure beats trying to re-insulate the entire length of the tube.
Monday, February 7, 2011

Nokia E51 Keypad Repair


B0rked E51 keypad, some keys weren’t functioning (right function key, 1, 2,3 and *). Decided to try and fix it.

E1

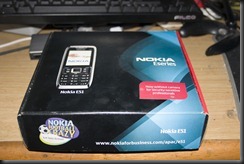
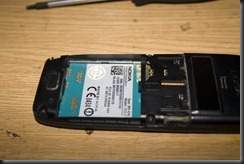
Still got the box… LOL. To disassemble the phone, pull the battery and sim, then undo the 4 torx screws on the back.

E2

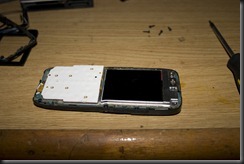
This will release the front panel. Resulting in the below

E3

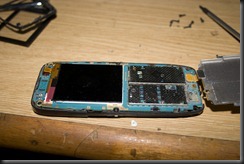
Then undo the top 2 torx screws on this side, and then pull the metal shield downwards (there are 2 metal tabs hanging over the board that hold it in), and then carefully flip the shield over, exposing the keypad connector.

E4

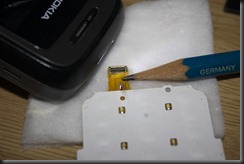
Using a non-conductive (preferably non sharp as well to avoid scratching the PCB accidentally) tool, free the keypad connector, becareful to not let the phone flop around as the LCD is now free to move, those darn flex circuits are bloody easy to tear in 1/2.

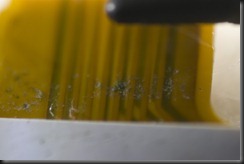
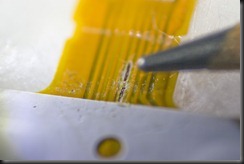
Upon closer inspection. I found the problem. It’s some kinda corrosion that went through the covering Pyralux or Kapton coating into the copper traces below, should be due to lame manufacturing. Here’s my try at cheap-ass macro photography (flipped a lens around).

E5

Can’t see it very well, but it’s a break. The dark thing on top is actually the tip of a pencil, that’s how small this trace is.

Next I carefully (using a sharp scapel) scrapped the coating above the trace off, exposing the raw copper below.

E6

The break is now a lot clearer, measuring with a DMM (digital multi meter) confirmed there was no continuity. I then patched it with some fine wire and a little solder.

The trick to soldering onto flex circuits is to not to heat it for too long and use minimal heat (25W soldering pencil is my weapon of choice), you can’t tin the trace all that well also, the coating around seems to break down before the solder melts, covering the trace with a gooey mess that prevents the trace from taking solder properly.

What I did was lightly flux the trace, tin the piece of wire, form a L shape with the wire, lay it exactly on top of the trace I wanted to patch, and then apply heat and hope for the best. After that, inspect the joint and lightly tug on the wire to make sure it’s firm, then trim the remaining wire off. It’s butt ugly, but it works.

E7

Next I put the phone back together again (humpty dumpty would be proud) and all the keys now freaking work. xD

Sunday, February 6, 2011

Xbox DVD Laser Replacement

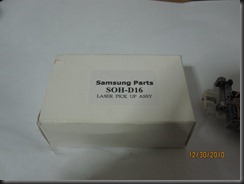
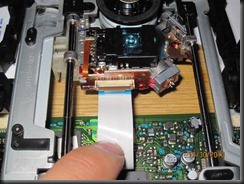
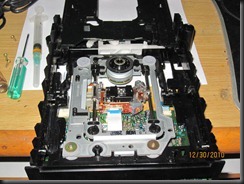
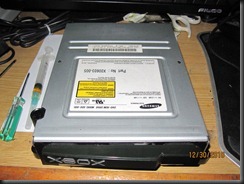
Had a SDG-605B Samsung DVD drive for the Xbox with a weak optical pickup. It uses the SOH-D16 pickup that as of 2010 was still available in Singapore (Just need to search alittle).
d1
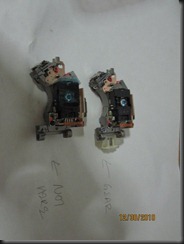
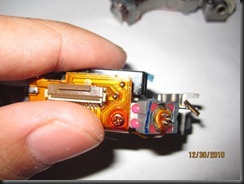
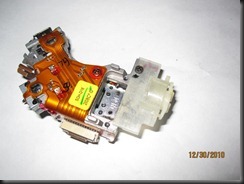
Here’s a shot of both the new and replacement pickups. The new pickup doesn’t come with the drive gear, so we gotta transfer that over.
d2
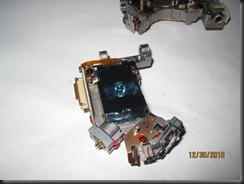
And then next is a shot of the ESD protection solder joint. To protect the pickup during transport (the laser diode is really ESD sensitive), they’ve added this shorting joint. Gotta remove that before putting the pickup in.
d3
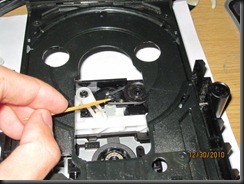
The new pickup even comes with tape on the objective lens to stop it from flopping around and getting scratched during transport.
d4
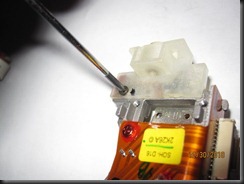
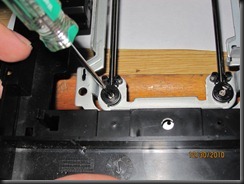
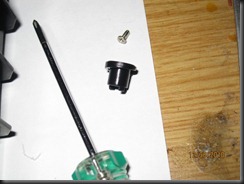
Here I’m removing the screw that secures the drive gear.
d5
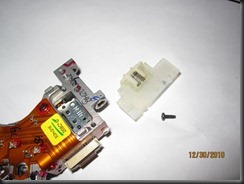
Here’s it totally out, there’s a spring that takes up backlash, be careful to not drop it.
d6
I then put on a tiny drop of loctite to keep the screw in place.
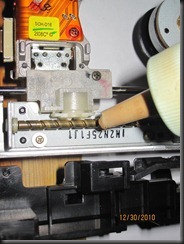
d7
Here the gear’s now on the new pickup, ready to go into the drive.
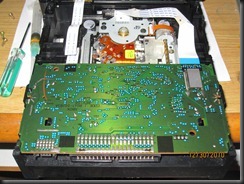
d8
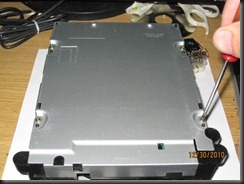
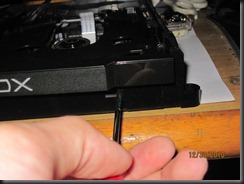
Taking the drive apart. These 4 screws hold the cover on.
d9
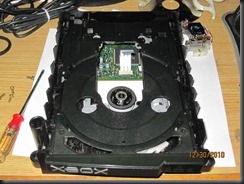
Remove both top and bottom covers, then get ready to eject the tray.
d10
Ejecting the tray for better access, on Samsung drives there's a lever you can push here to make the tray slide out.
d11
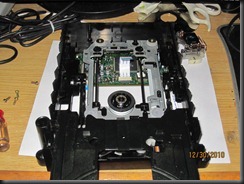
Tray out and everything dusted. Clean out all the buildup and dust you find within. Wouldn't want it falling into the new pickup.
d12
Flip the drive around and remove the control board assembly, 2 clips hold that in place.
d13
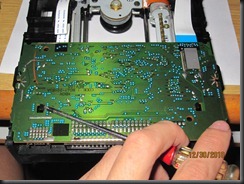
Board out and flipped up, you don't have to disconnect everything, just the laser interface cable is enough.
d14
Next undo the fasteners that hold the guide rails in place and set them aside. Then clean them to get rid of the old lubricant.
d15
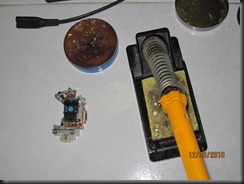
After the drive is prepped, and you've discharged wadever static buildup (wrist-strap or just touching a grounded equipment prior). Desolder the ESD joints on the pickup.
d16
Here it's desoldered. A quick swipe across with a hot soldering iron will do the trick.
d17
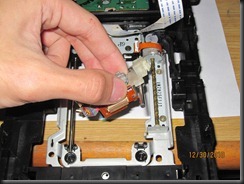
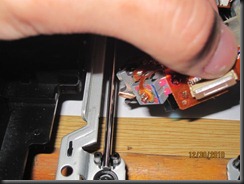
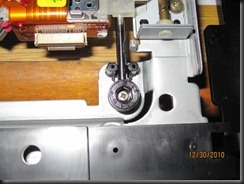
Guide the new pickup in place, some creative angling may be required. You could pull the entire rail out and slot them back in later, but I prefer to disturb them as little as possible.
d18
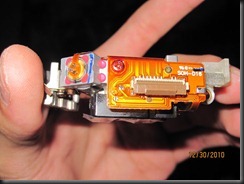
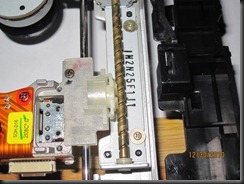
A close up of the non geared side.
D19
Make sure the drive gear engages with the worm screw on the motor before pressing everything down.
d20
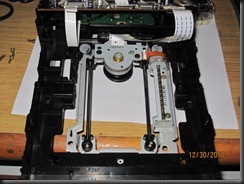
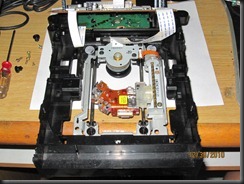
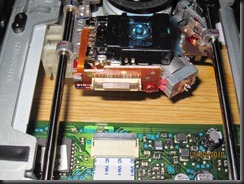
Pickup assembled in place.
d21
The guide rail retainers can only go in 1 way, a set of slots and tangs on the bottom ensures that.
d22
Retainers installed.
d23
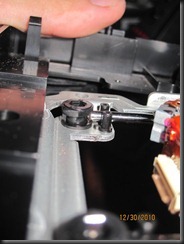
Side shot of the retainer, make sure there's no gap between the rail and the retainer, if there is a gap, you've installed the retainer wrong, rotate it until the tangs match the machined grooves in the base.
d24
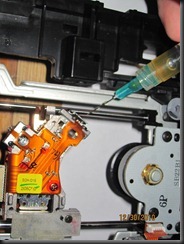
Using a syringe and a little bit of oil, I lube the rails.
d25
Next a little dab of grease on the worm gear. Don’t use more then needed, grease tends to trap dust.
d26
Board back in.
d27
Next flip the drive over and disengage the locking lever.
d28
Push and guide the interface cable in, then lock the lever while holding the cable in place.
d29
Here it is locked, just make sure the lock lever is totally flat.
d30
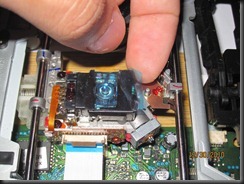
Afterwhich remove the tape that's holding the lens down.
d31
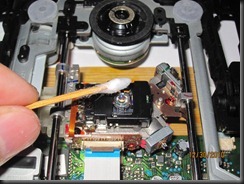
I then swab the lens to remove any tape residue, with a little window cleaner.
d32
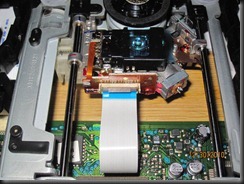
Everything properly assembled.
d33
If you have problems with the drive not opening properly, now may be a good time to clean out this drive pulleys, as well as fit a new band or clean the existing one.
Oil or dirt can cause the band to slip, resulting in a stuck drive.
d34
Next assemble the covers back on.
d35
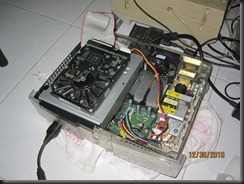
Sticking the drive in a test Xbox. Now reads everything like a new drive should. (CDs DVDs etc.)
d36
Good luck. xD

Motherboard BIOS Recovery (SPI)

Board in question is an Asus Blitz Formula. 


Motherboard had a dead (corrupted) BIOS. Found an SPI header just below BIOS chip (SST25VF016). Time to use that to CPR the board back. 

Board was flashed using Winflash, which didn't verify correctly after the write (and just frooze), post restart it won't boot up properly anymore. Winflash is bloody risky, I've used it a couple of times on my DFI NF4-Ultra-D without issues, but it seems like it doesn't like this board.


Map
Using a multimeter I then probed and determined where each pin mapped to on the header. The left smaller sheet of paper maps out which pin of the LPT port maps to the pins on the header. You gotta supply a 3.3V source to the IC under programming using either a bunch of AA batteries, dropping 5V across diodes, a regulator etc. Whatever you do, make sure there's a good stable source of 3.3Vish juicing the IC.


Wired
Next I wired up an LPT connector to it. The flashing app I'll be using is known as "SPIPGM2", what it does is that it bit bangs the LPT to simulate SPI. I didn't use any sort of buffer or 'protection' diodes or resistors on it, I figured it's gonna be on only for a short while and should be ok. You gotta have a LPT (Printer) port for this setup to work.

You can get SPIPGM2 from here
http://richard-burke.dyndns.org...SPIPGM2.ZIP

You're also gonna need CWSDPMI7 (Host process needed by SPIPGM) http://homer.rice.edu...csdpmi7b.zip

Just copy the contents inside the BIN folder into the same folder where SPIPGM2 resides.
LPT Address

Before using that app, gotta make sure LPT is on address 378h in the BIOS. I've experimentally found EPP to be the most jitter/glitch free mode on this laptop. Yes I'm using a super old Pentium 3 IBM to do this (only thing I had around with an LPT port).


Your mileage may vary, give the different modes a try and then verify after each write to make sure the data on the SPI FLASH is corruption free.
NTFS For DOS
I used a NTFS for DOS boot CD to let me read/write to my HDD that's NTFS partitioned (laptop runs WinXP). This allows me to place the necessary files (SPIPGM2 related) and then read and dump files onto the HDD. You can use anything as long as it let's you boot to DOS and can hold your dumps (Bootable thumbdrive, heck even a floppy disk).


Corrupted BIOS Read

Prep
Just for kicks I decided to dump the corrupted BIOS, to see how far Winflash got during programming before it b0rked.
After dumping I prep it for the write. SPIPGM2 /i Verifys that the system can recognize the correct type of SPI FLASH hooked up (25VF016).
SPIPGM2 /u and /e prepare the IC for writing.


Writing
SPIPGM2 /s NEW.rom writes NEW.rom (which is the latest BIOS image downloaded from the Asus website) into FLASH. This process will take between 30-45mins on the 2MB flash (because of the bit-banging hackery used, if your processor is faster this will probably go faster). This is gonna take awhile. On my laptop it took something like 30mins to finish writing. While it's writing I'll take the time to show how I have the entire thing hooked up.

Hookup
The hookup from motherboard to laptop, a little mess of 7 wires. 2 for GND and +3.3V, 5 for signals. Like I mentioned before, there are no buffers and current limiting resistors etc, so I wouldn't leave it hooked up forever (if somehow you decide that leaving it plugged in is a good idea).


3.3V
My 3.3V source was straight from an ATX PSU main connector. Shorting out the green (PwrON) to ground will make the PSU turn on, then probe around for a 3.3V source, it should be orange, although some PSUs might not have it in the same colour.


Write Done
Yay! After 30mins it's finally done. 


At this stage you may want to call it good, but I read the data back out so that I can verify it against the original later and ensure the write was 100% bit for bit good. Here's the read process. 


Readback
And here's me comparing it using HexCMP. Load both hexes up and then this will tell you instantly if there's a differenceas you can see, no problems here at all. 0 bit differences. 


Compare
The initial dump (corrupted BIOS), shows the 1st 2 bytes as 01 (which is not even correct), and then a blank chip after that, Winflash must've erased the chip right, but couldn't write properly. Lame. 


Next would be to unhook everything and boot up the board. Glad to say that the board now works fine. xD